So I’m back, like I said I would be, with a yummy recipe for you all. Actually, I have one and a half recipes for you guys, but we’ll get to the half recipe in a bit, yeah?
So I still haven’t got my computer back from repair yet and feel like I’m slowly dying inside. The desktop is okay, as desktops often are, but its no Harriet (that’s the name of my laptop…doesn’t everyone name their electronics?!). The keyboard is funny and the screen is massive so that even though my glasses give me perfect vision, I still find myself squinting. Harriet, when will you be home?!
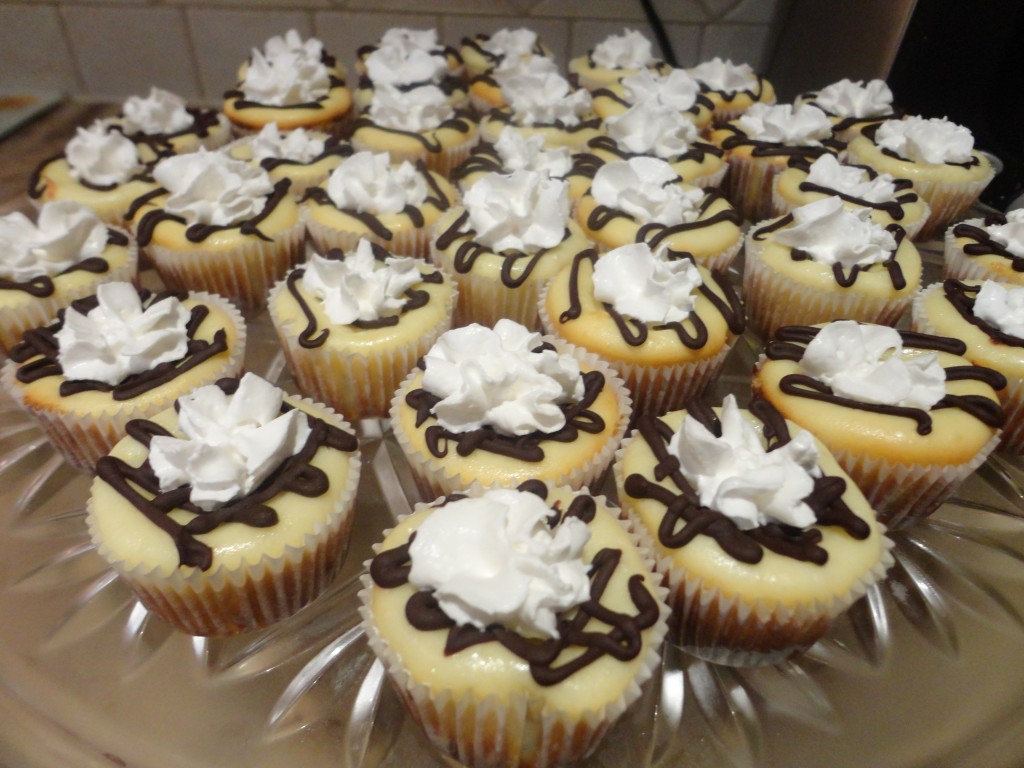
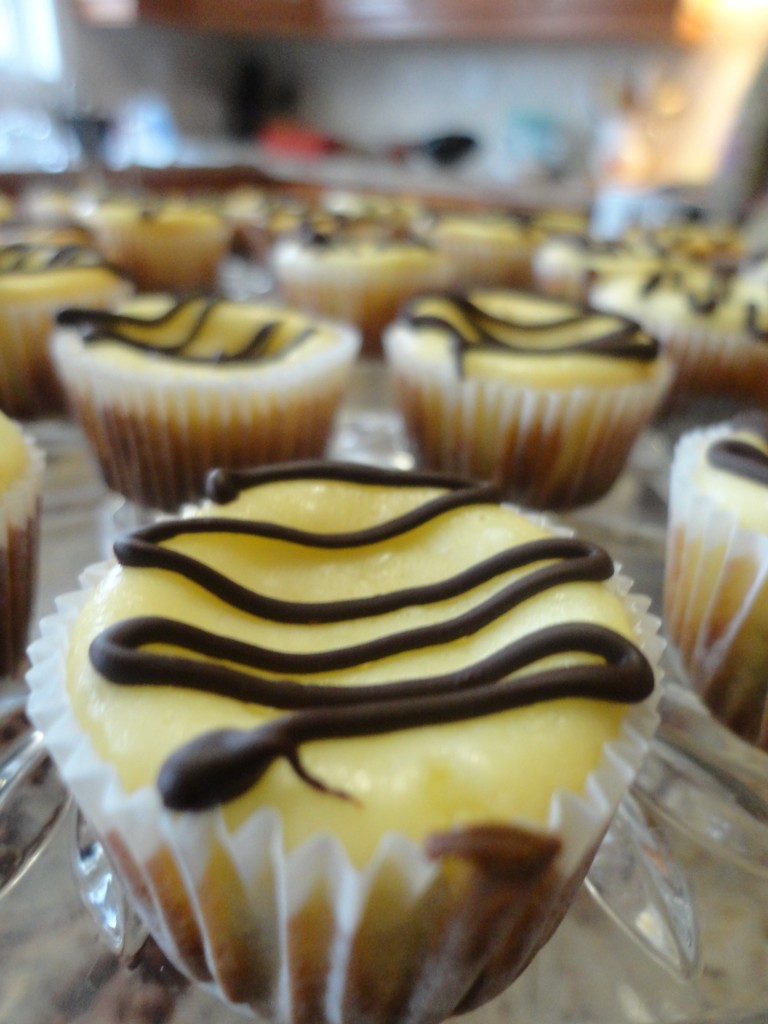
So anyway, the party I had on Saturday was a hit. I made little loot bags of candy and chocolate, and handmade cards/envelopes. Oh, and I also made these guys.
When I began making them on Friday night, I practically had to lock them up in the fridge and away from my brothers’ hungry eyes as they begged me to have one each. But I’m kind of a food Nazi and refused to let them have a bite, until the party was over and my lovely guests (and I) had devoured their share. You might be thinking that I’m not a very nice older sister, and you would be right! Hehe.
Anywho, normally I make these in the regular sized cupcake pan, but since shopping is a necessity for me, I just decided that I needed a mini cupcake pan, since I didn’t have one and honestly, it would be an investment, since I could now make everything I ate MINI.
Mini Oreo Cheesecakes
Ingrdients
2 pkgs (250 g each), softened brick cream cheese
1/2 cup sugar
2 eggs, room temperature
Oreo cookies
Melted chocolate
Whipped cream
Directions
- Heat your oven to 350 degrees F.
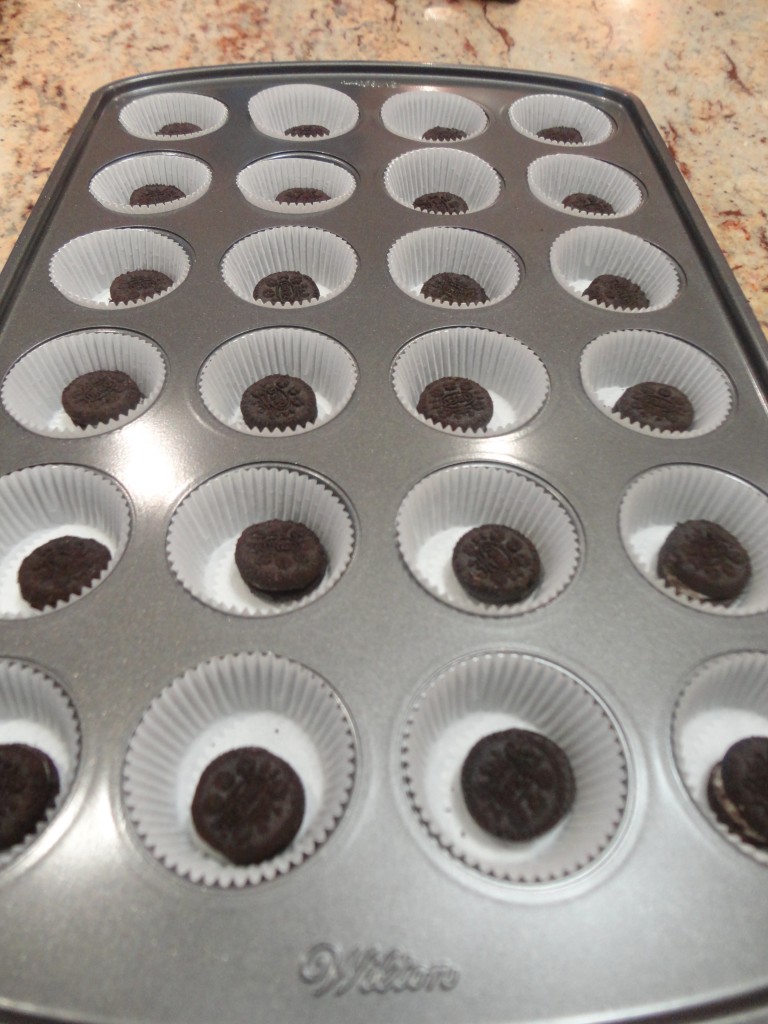
- Line your cupcake pan (regular size or mini) with cupcake liners and place Oreo cookies in them.
- Beat cream cheese with sugar.
- Add eggs, one at a time. Blend well after each addition, scraping the sides of the bowl.
- Scoop out the batter into your liners, making sure they’re all 3/4s full.
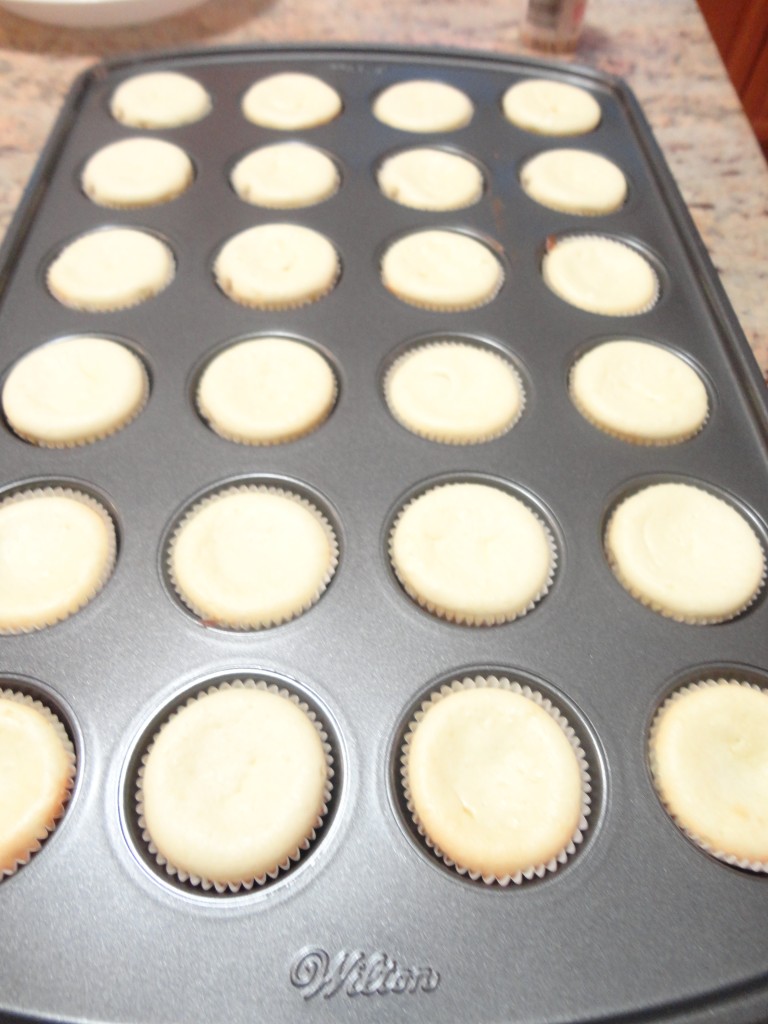
- Bake 20 mins, or until the edges are slightly golden, or until a toothpick inserted in the centre comes out with a few crumbs.
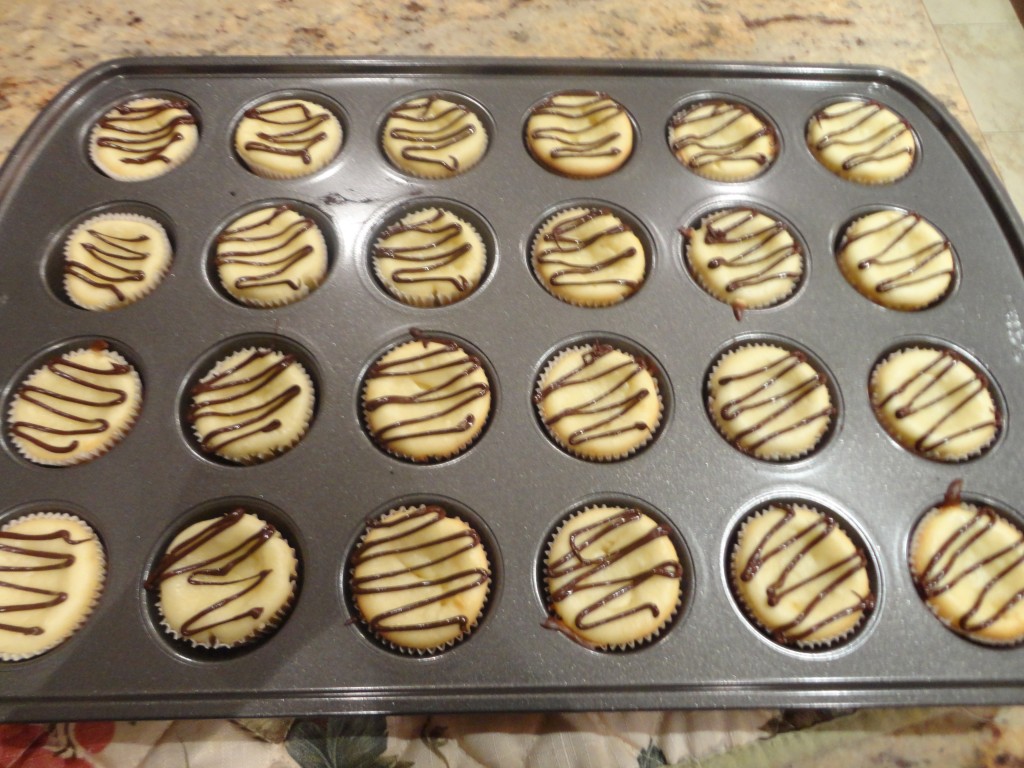
- Melt a handful of chocolate chips in a microwave safe bowl at 20 second intervals, until chocolate is smooth and melted through. Scoop into a ziplock bag and snip off the edge and decorate each mini cheesecake accordingly.
- Squirt whipped cream on top right before serving.
And there you have it! These are so easy to make, especially since you only need like 3 ingredients, not including the garnishing stuff. If you make these as mini ones, just use the mini Oreos instead of the regular ones and they’re just as yummy! Or feel free to experiment with other kinds of cookies for the base as well.
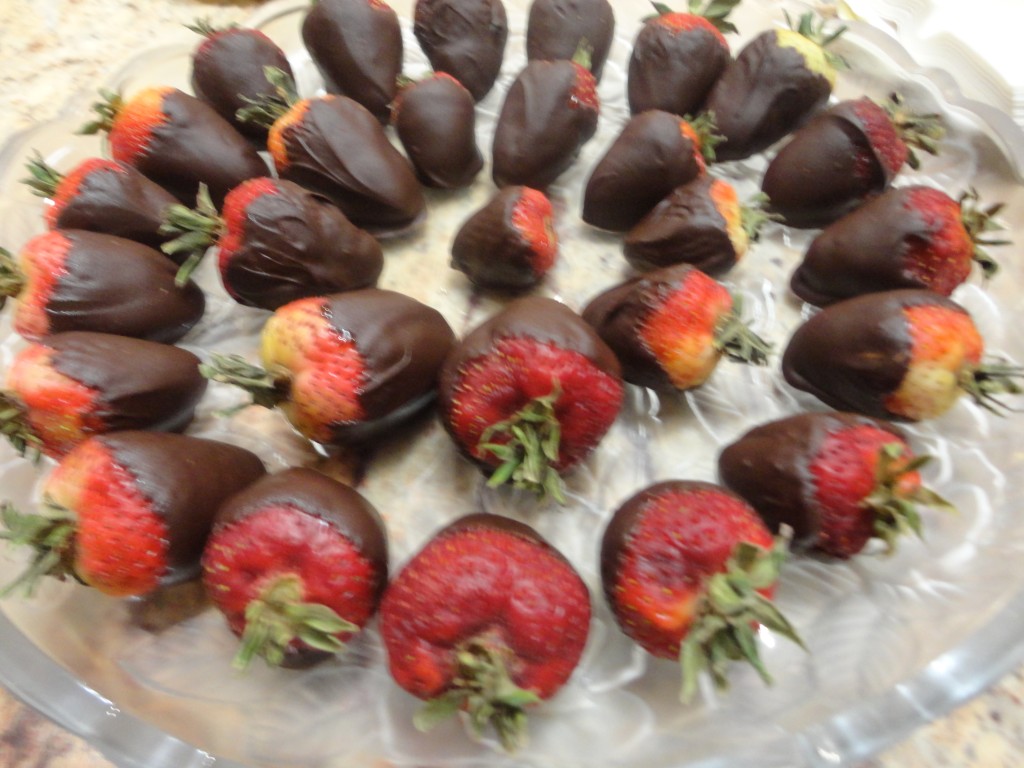
And for the recipe recipe-that’s-not-a-recipe, I made chocolate dipped strawberries.
According to my brothers, anyone can make chocolate dipped strawberries, but I assure you that is not the case, since I’ve been trying for a year now, and mine always suck. Now before you think me (more of) an idiot, let me tell you that they always taste fine, because, hello, how could they not? But they always fall apart when biting into them, or they leave the chocolate behind when you go to pick them up off the plate you’ve made them in.
So after some important research (aka googling), I’ve discovered some tricks to making amazing chocolate dipped strawberries.
One, after melting the chocolate, add a few drops of vegetable oil. This will give your chocolate a nice shine and makes them look prettier.
Two, do use parchment paper. Maybe this is some universal truth about baking, but I don’t ever use it when making cookies or anything else. But after watching my beautiful chocolate painfully separate from their strawberry soulmates, I’ve realised that parchment paper makes this separation non-existent and both chocolate and strawberry are happy.
Don’t have parchment paper? I didn’t either, and just improvised by opening up an almost-finished bag of cereal. It worked great!
Three, after dipping your strawberries into the chocolate, leave them to cool on your parchment-covered pan for about 5 mins. This will prevent the chocolate from cracking when you take a bite of it later.
And that’s it! I found these tips super helpful when making my chocolate covered strawberries this weekend, so I hope you do too. 🙂
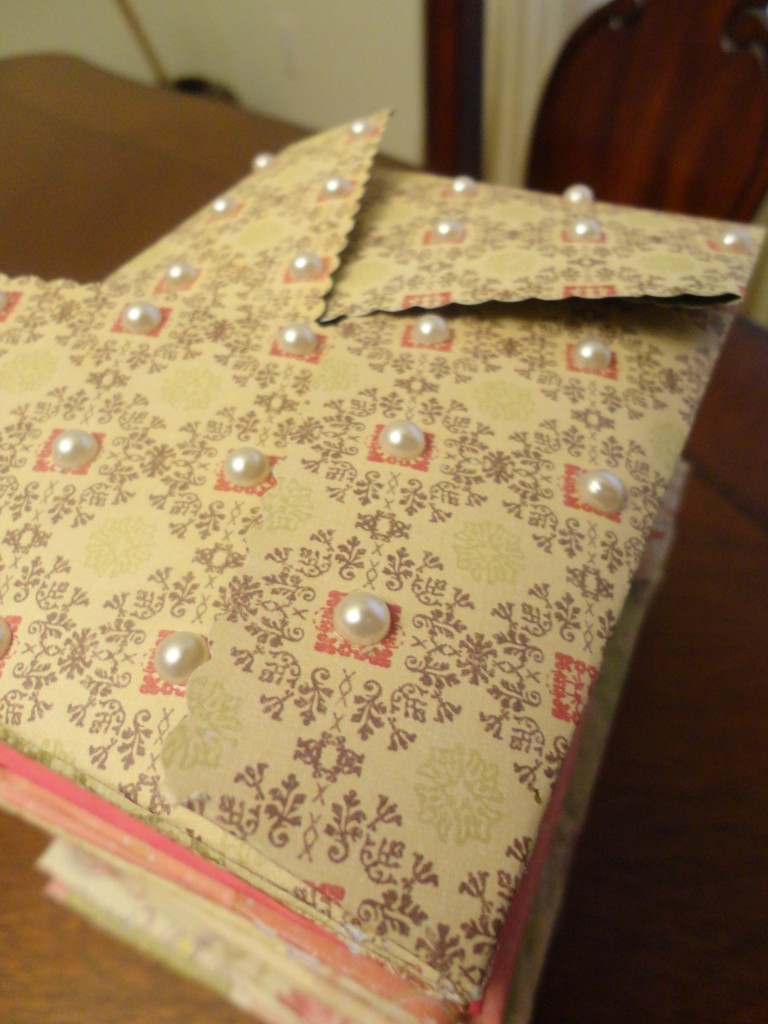
And that’s not all I made for the girls on Saturday. They also got a handwritten card inside of a handmade Japanese envelope. For instructions on how to make these beautiful envelopes, please check out this post.
Thanks so much for reading! 🙂
Ikhlas


Omg Ikhlas! Those cheesecakes look divine!!!! I’m a HUGE sucker for cheesecake…and oreos…so this recipe is perfect! Did your brothers end up getting to eat some lol? At least your brothers asked! Mine would just take one and run away without asking at all! Hope Harriet is doing better!
Thanks for your comment, Natalie! And hahaha yes they did eventually get some, since (luckily) there were a lot left over 😛
I hope you can try this recipe soon…it’s so easy! 🙂
These look great! Would the baking time still be 20 minutes even using the MINI cupcakes pan? Thanks!
Thanks! Yes, I believe I still baked them for 20 minutes, but use your discretion. Maybe check after 15 minutes to see if the edges are golden?