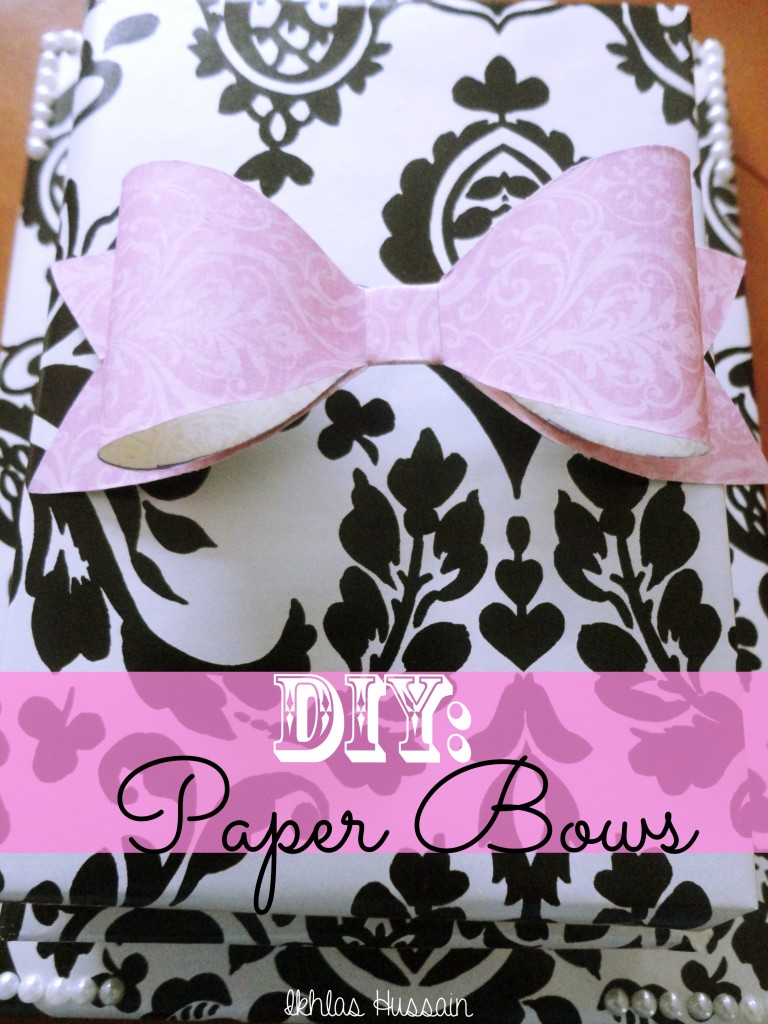
 Hello friends! I’ve got a cute DIY tutorial for you today: paper bows! They are super easy to make and add such a cute touch to any gift or card.
They’re simple to make, and can be made in any colour paper to change up the look completely. They’re three dimensional and can make any present or gift look personalized.
Let’s get started!
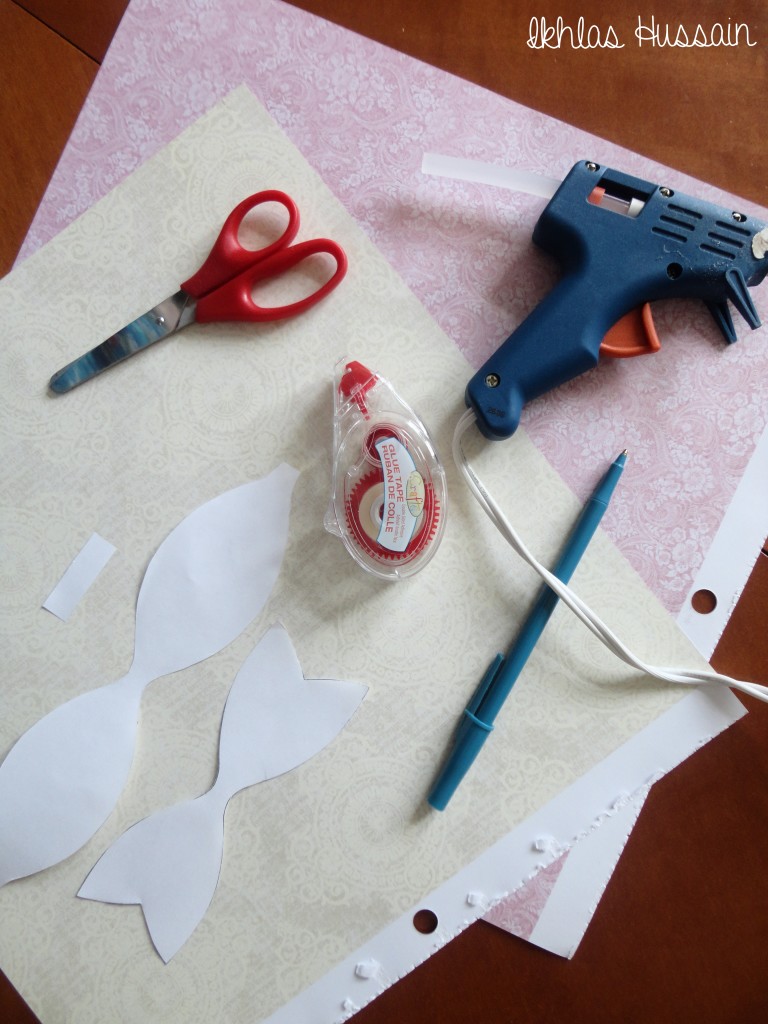
Here’s what you’ll need:
- paper (scrapbook paper is preferred; just make sure it’s not too thick)
- scissors
- hot glue gun
- pen
- double sided tape
- template, pieces cut out
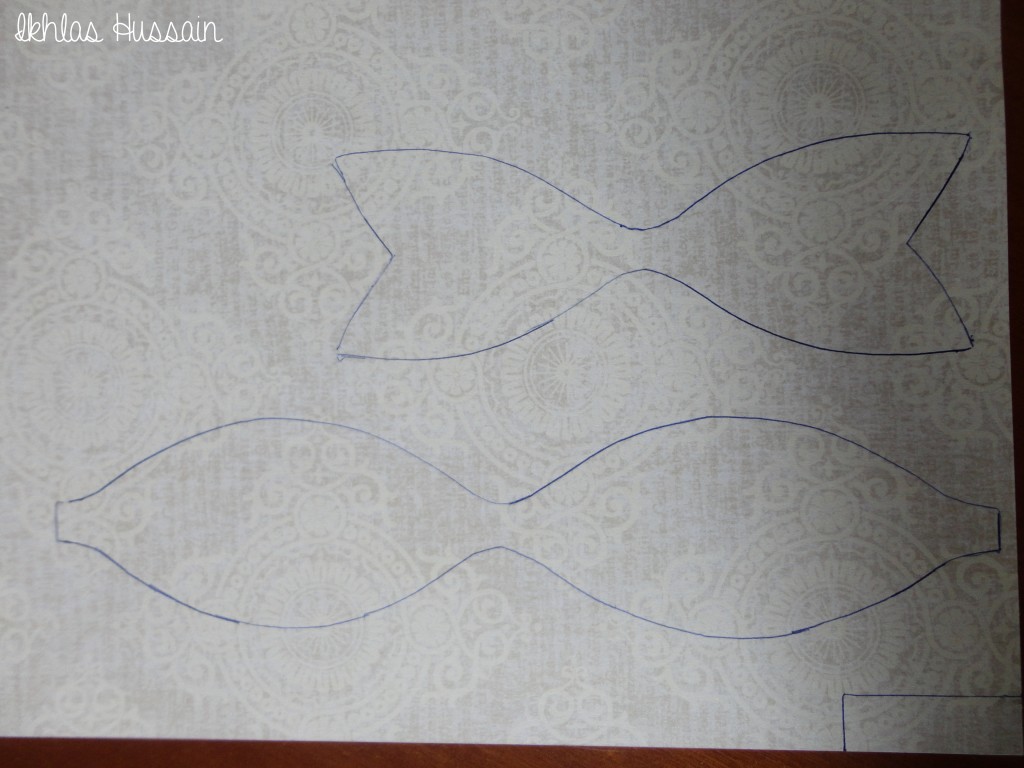
Begin by cutting out the pieces of your template. Once cut out, start by tracing the pieces on the back of the paper. If your paper is patterned both ways, decide which side you’re going to show. Draw on the opposite side.
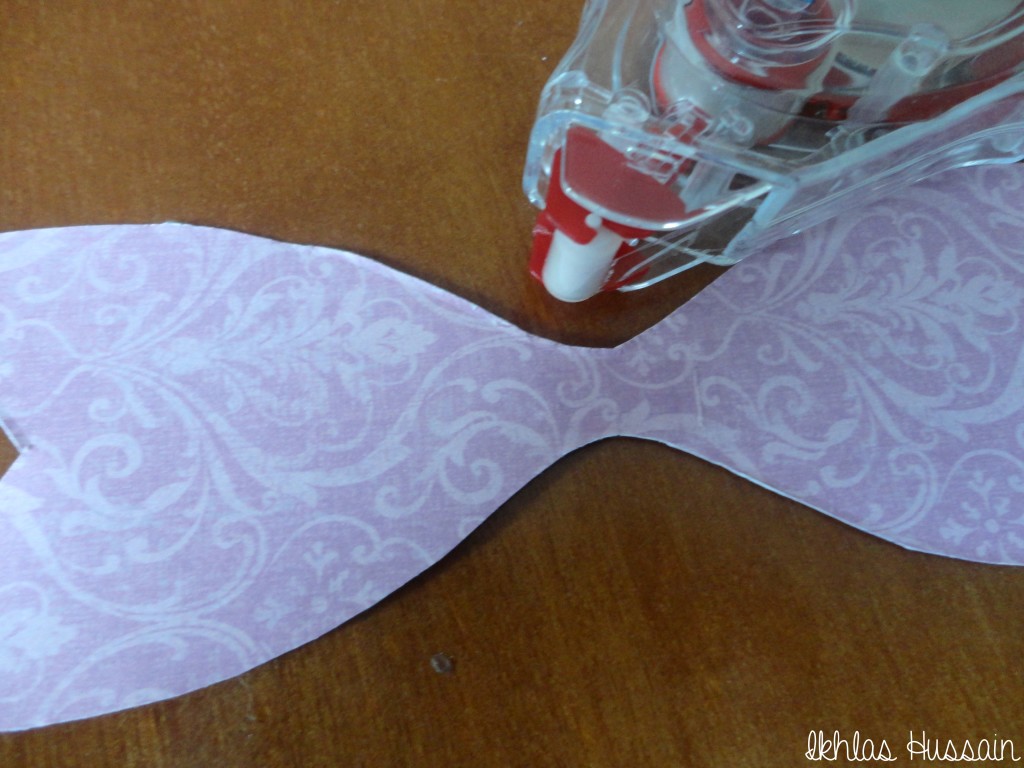
Once your pieces are cut out, put a little bit of glue in the centre of the second longest piece.
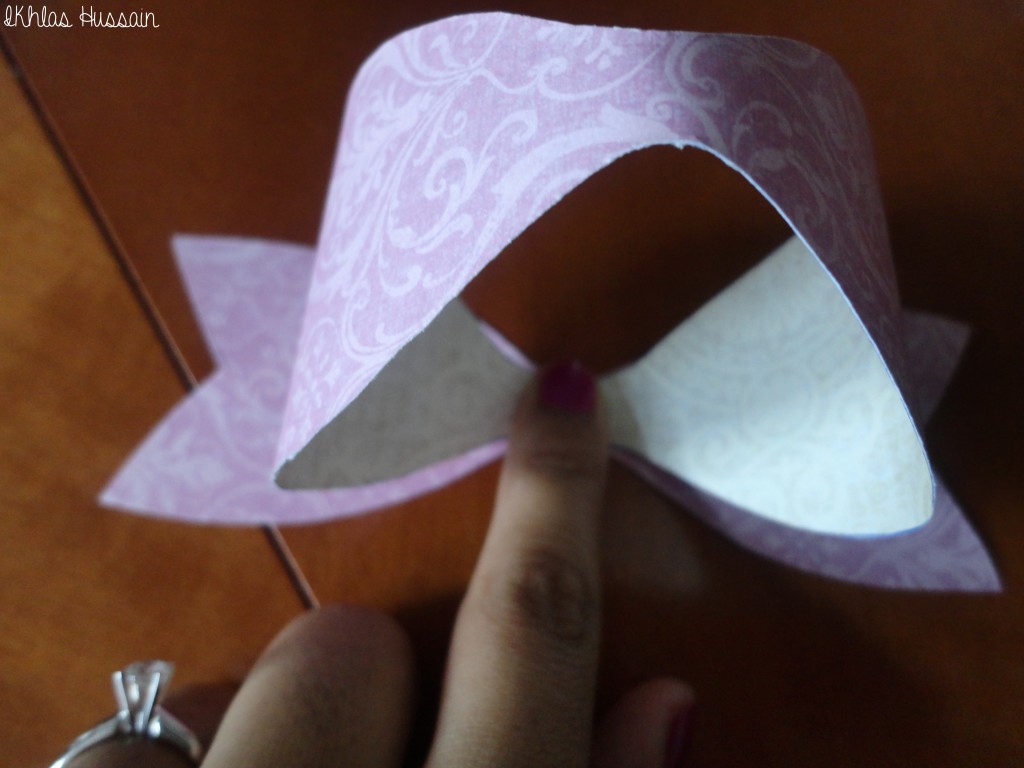
Take the longest piece and curl the two ends in and press them into the paper that you just glued. Press down carefully to ensure it’s secure.
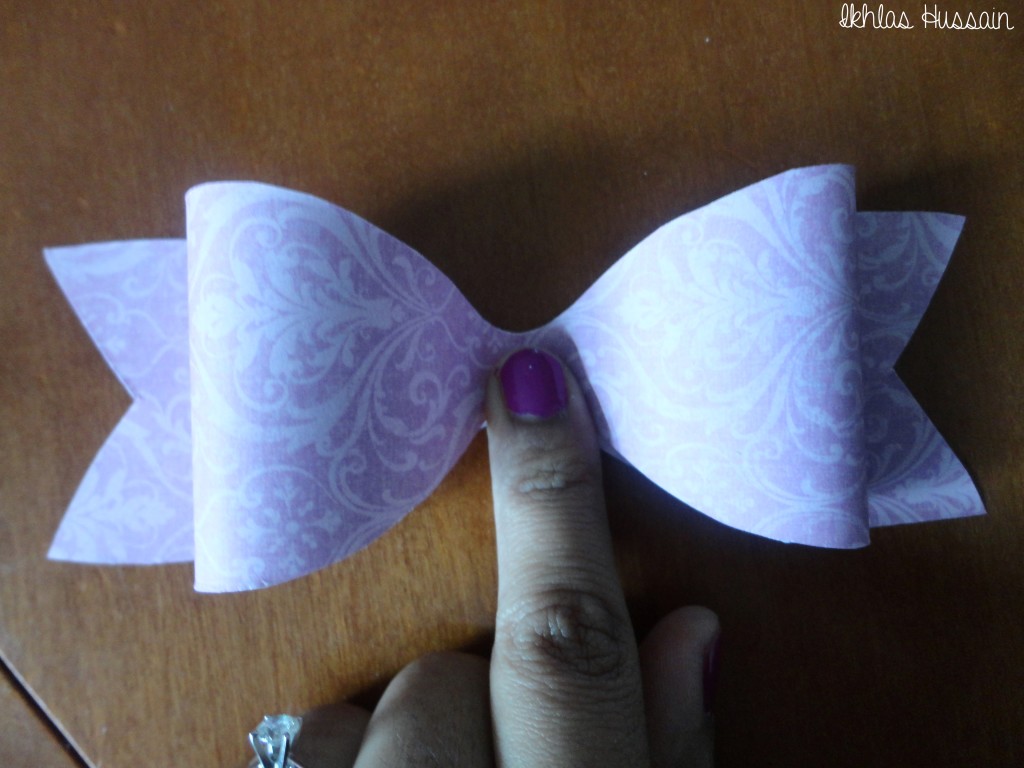
Put some more glue on the two edges you just glued down and press down on the piece so that it folds down right into the centre, where you just glued.
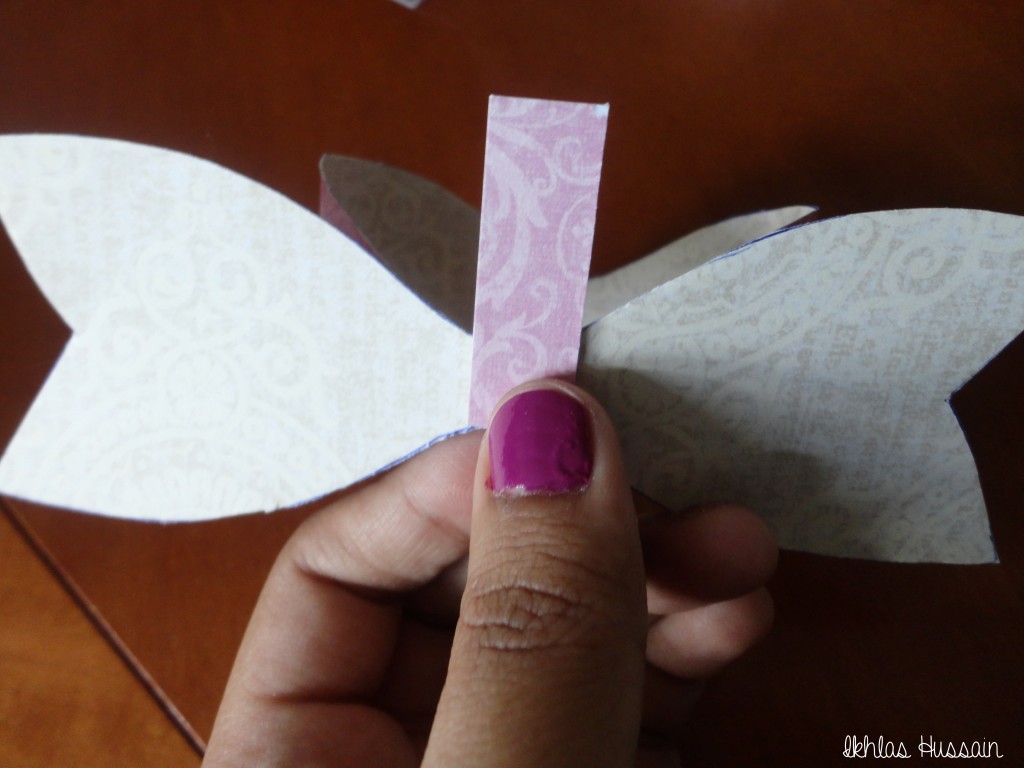
With your hot glue gun, dab a dot of glue on the bottom of your bow and begin wrapping the smallest piece around. This piece will just secure everything together and ensure that your bow looks nice and neat.
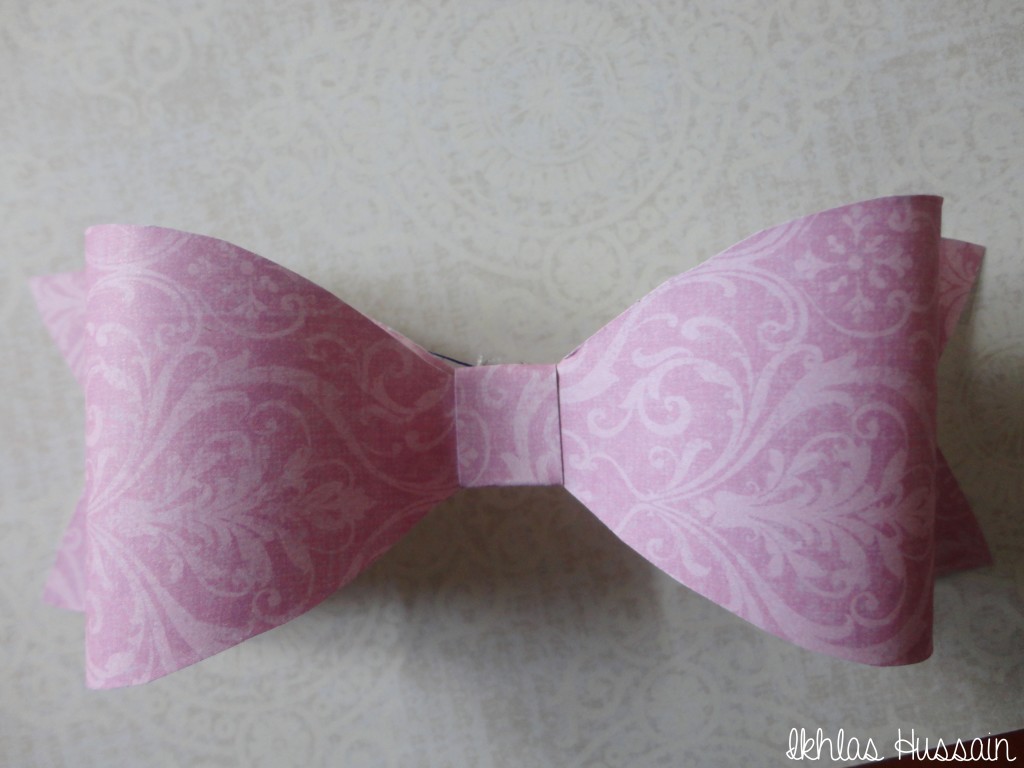

And that’s it, you’re done! It’s very simple, but adds such a cute touch to presents. You can easily change them up by using differed coloured and patterned paper. You can also mix and match the pieces to have some fun.

Something else you can do to make a larger bow, especially if you have a larger gift to wrap and decorate, is glue two of the bows together.

All you need to do is put some glue on one of the bows and place the other bow diagonally. Now you’ve got a big bow!
Fun and easy to do, make sure you try out this DIY: Paper Bows tutorial when wrapping your next present! The original tutorial can be found here.
Thanks for reading,
Ikhlas

Cutest idea ever!
Glad you liked it! Hope you try it out 🙂