Hello friends 🙂

Welcome to my kitchen- er, rather blog, where I’m introducing a new feature: recipes! As you might have noticed, I love to bake (and sometimes cook) and sometimes feature pictures of my creation on my blog, but more on my personal Facebook and Twitter.
But I figured I should make this into a new feature on the blog, so that I can share the recipes and the pictures.
I’m not a professional baker or a professional photographer (or professional anything really), but do like sharing what I made so that’s what this feature will be about.
One last thing before we get started, the pictures and recipes I post are my property. Feel free to make them, but please rewrite the recipe in your own words if you blog about it, take your own pictures, and please link back to the original recipe. Thanks!
So off we go to the whimsical kitchens!
Sugar Cookies
Today’s recipe is Sugar Cookies, a recipe that I received from a co-worker, when I was working at a publishing house. She told me that its a standard sugar cookie recipe, and so I’ve adjusted it accordingly.
Here’s what you’ll need:
2/3 cup butter, softened (depending on the softness of the dough, I add more as I go along)
¾ cup granulated sugar
1 teaspoon baking powder
¼ teaspoon salt
1 egg
1 tablespoon milk (again, depending on the consistency of the dough, I add more so its less dry)
1 teaspoon vanilla
2 cups all-purpose flour
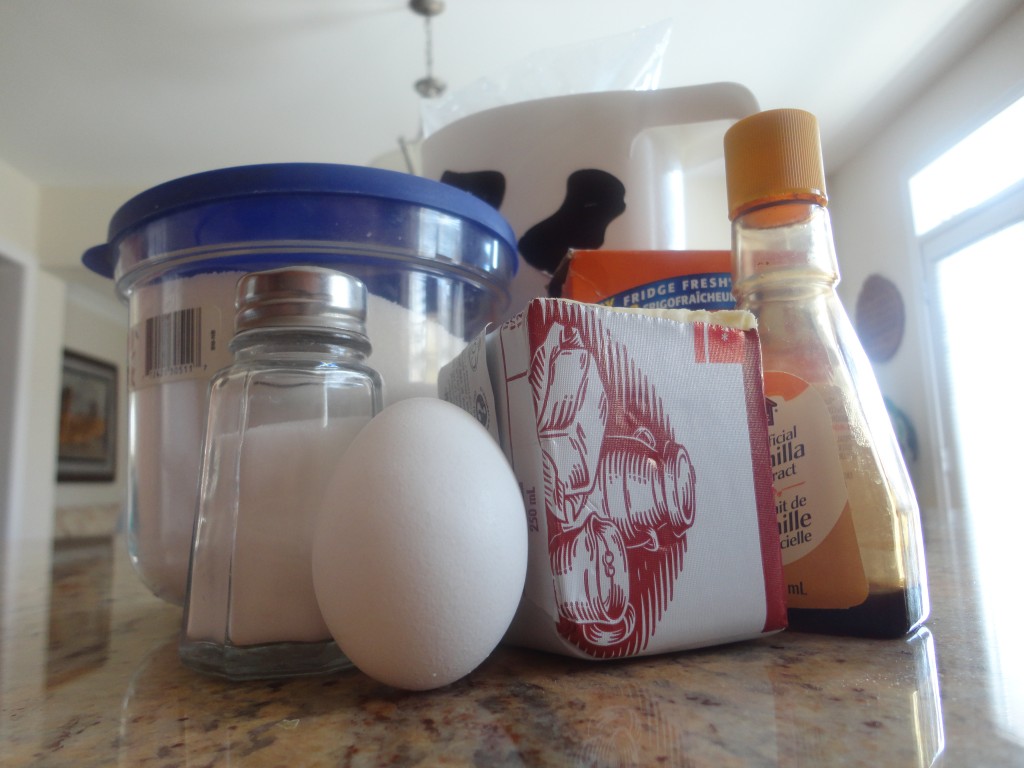
I actually doubled the recipe when I made them on Friday, since I was making them for friends, and so the batter/dough you’ll see in the pictures won’t be what you’ll be dealing with (unless you want to double it, of course).
So first, you’re going to beat the softened butter in a large mixing bowl with an electric mixer. Do this for 30 seconds on high speed, or until the butter is whipped.
Then you’re going to add the sugar, baking powder and salt.
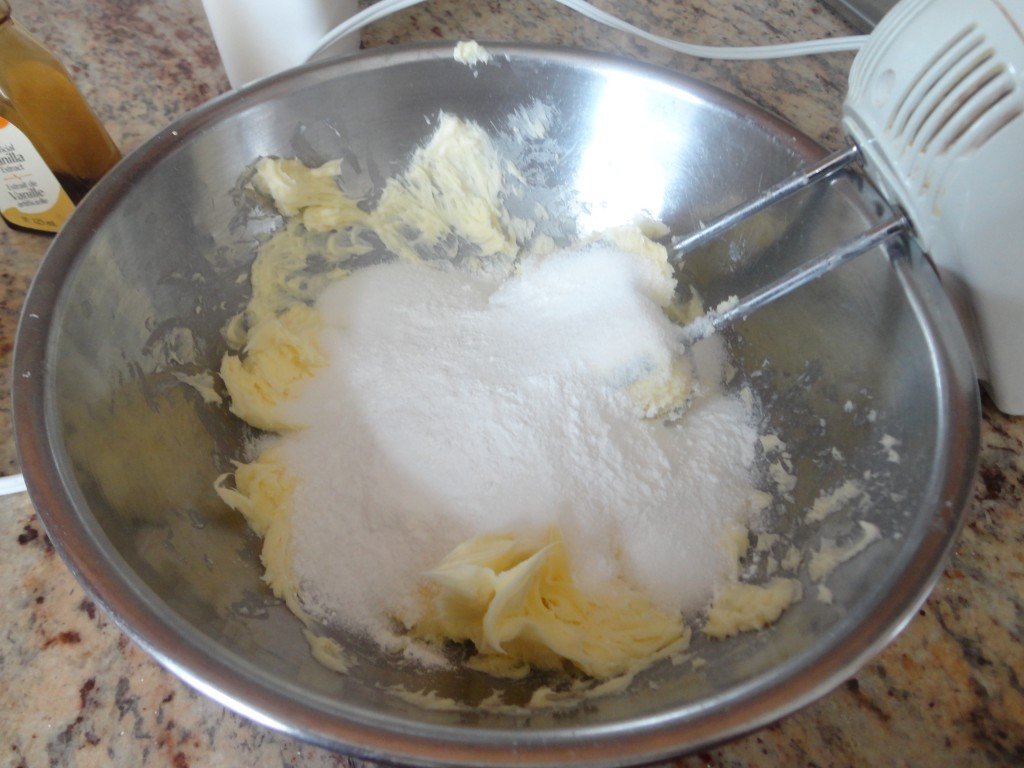
Beat all of these until they’re combined. And be sure to scrape the sides of the bowl as well, since sometimes butter and sugar like to stick there.
Add in the egg, milk and vanilla and beat them until they’re combined.
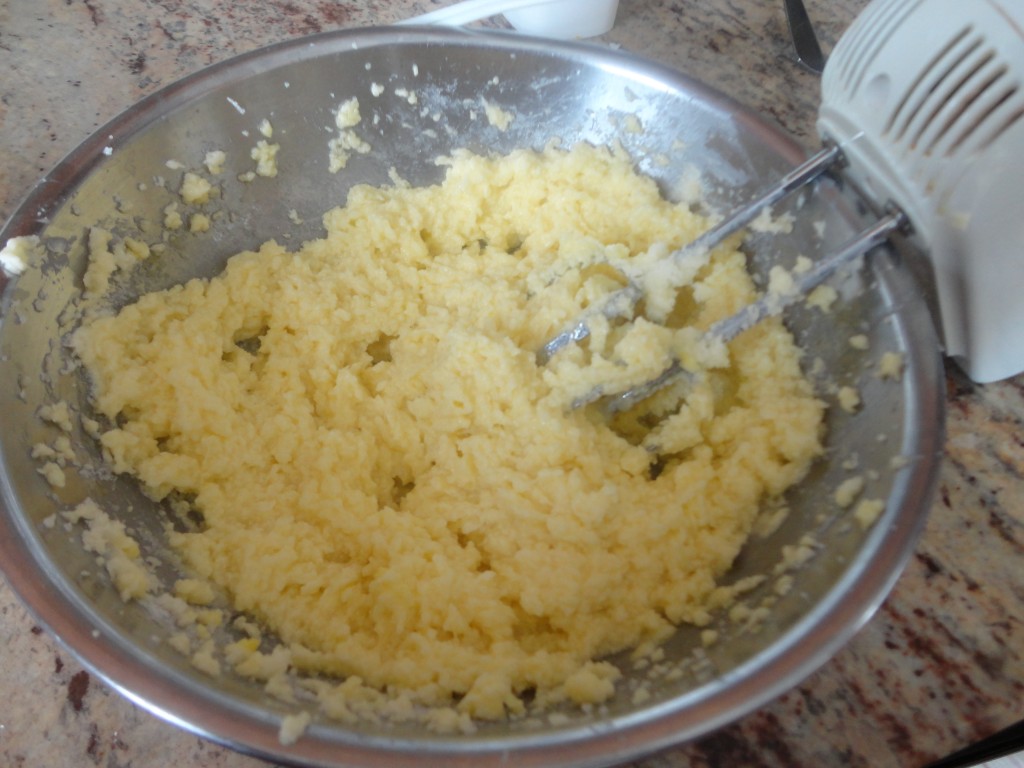
Next, switch from an electric mixer to a wooden spoon (after scraping the batter off the beaters) and add half a cup of flour at a time, mixing it gently with the wooden spoon. Continue to add half a cup at a time, until all of it has been combined.
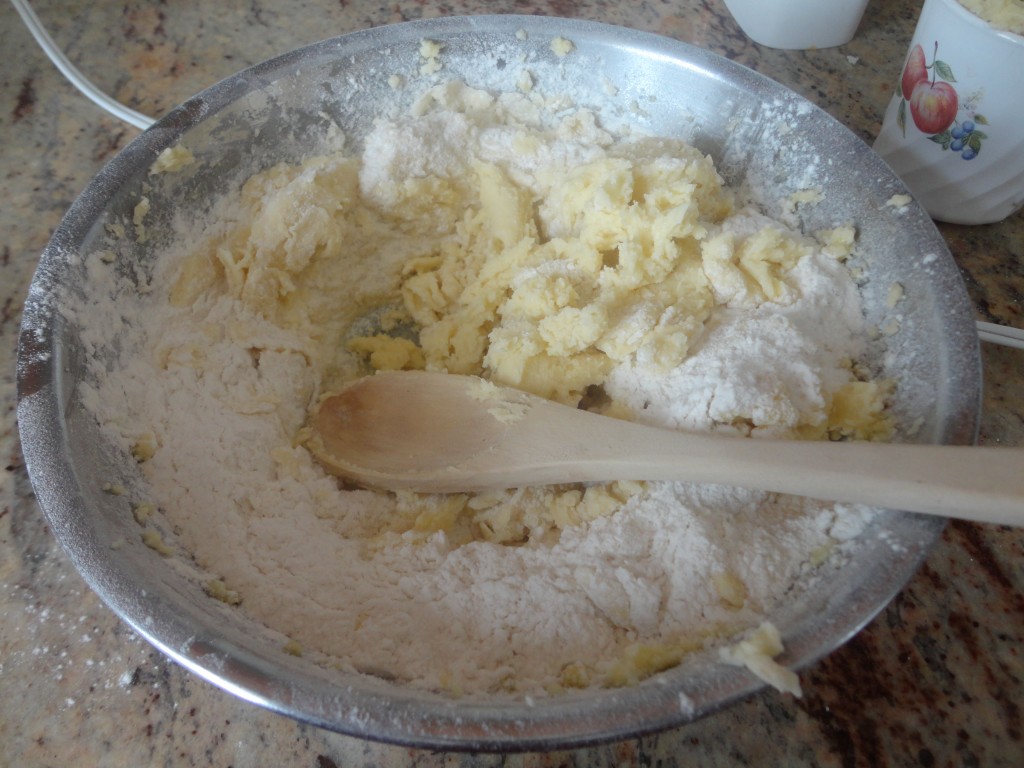
Depending on how tough or easy the dough is to handle, you might need to chill the dough in the fridge from fifteen to twenty minutes.
Once the dough is easy to handle, take it out and divide into quarters. This is up to you and how much room you have, but I found that working in quarters is easier to roll the dough out.
This is also when you can preheat your oven to 375 degrees. I don’t like doing it before, since it takes time to make the dough and chill it, so when I’m ready to make the actual cookies is when I turn the oven on.
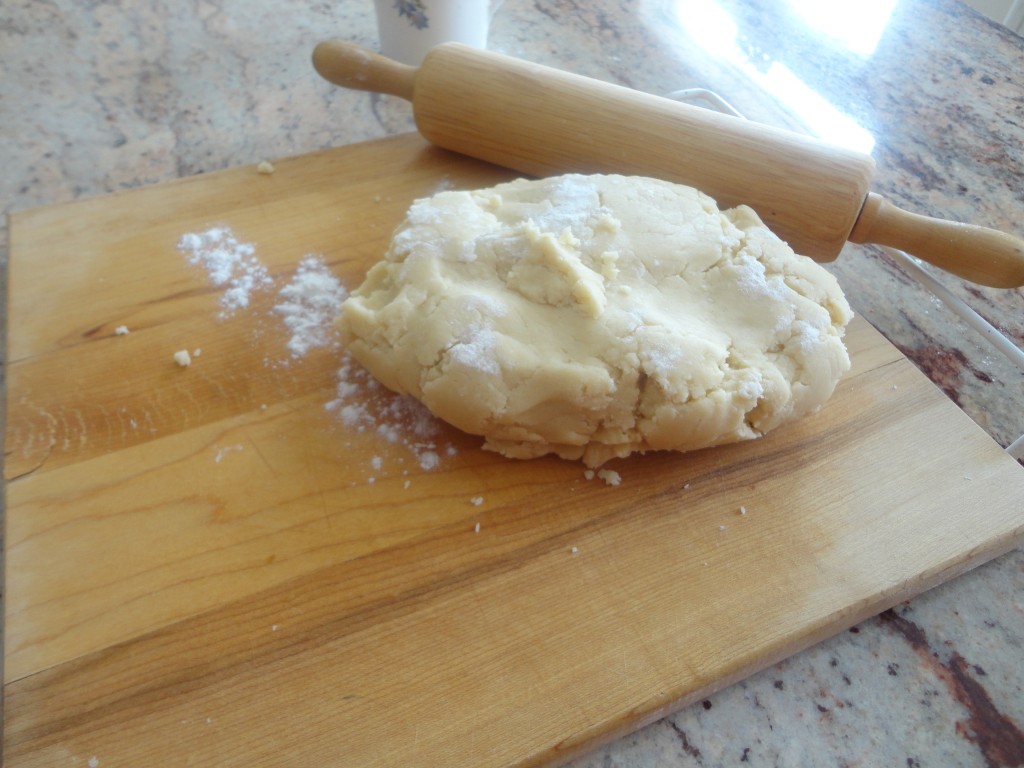
Grab your rolling pin and start rolling the dough out on a lightly floured surface until its about 1/8 of an inch thick. Grab your favourite cookie cutters (as you can see, I like girly shapes :D) and get cutting!
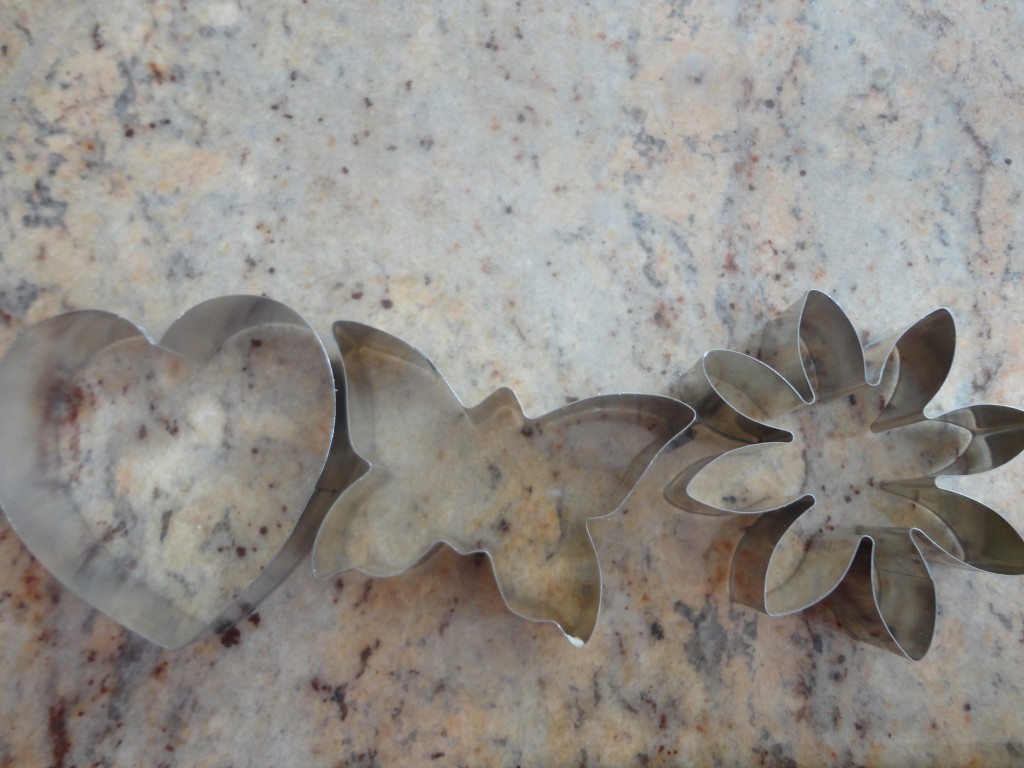
Be careful when you’re picking the cookies up to put them on the cookie sheet, since they can fall apart if you try to be quick.
Place them 1 inch apart on an ungreased cookie sheet and bake them for 7-8 mins. This depends on the thickness of your tray, so keep an eye on them so that they don’t burn (the edges usually start to burn first) and take them out when the edges are lightly browned.


You should transfer them to a wire rack, which I don’t have, and let them cool. If you don’t have a wire rack, gently scrape them off the cookie sheet with a spatula, so that they don’t stick to the sheet.
If you want, you can sprinkle a little dusting of icing sugar on top, but I like making a butter frosting to put on top.
Butter Frosting

This is such a simple recipe to make, and it tastes so creamy and buttery; its a perfect match for these cookies!
Here’s what you’ll need:
1 1/2 icing sugar
3 tablespoons butter, softened
1 tablespoon vanilla
1 tablespoon milk
3 drops any food colouring
An assortment of coloured sugar decorations
Combine the icing sugar, butter, vanilla and milk with a wooden spoon in a mixing bowl. You might find that the frosting is a bit too doughy with only one tablespoon milk, so thin it out with a little more milk. If you add too much, and it becomes too thin, add some more icing sugar until you reach the right consistency of light and creamy icing.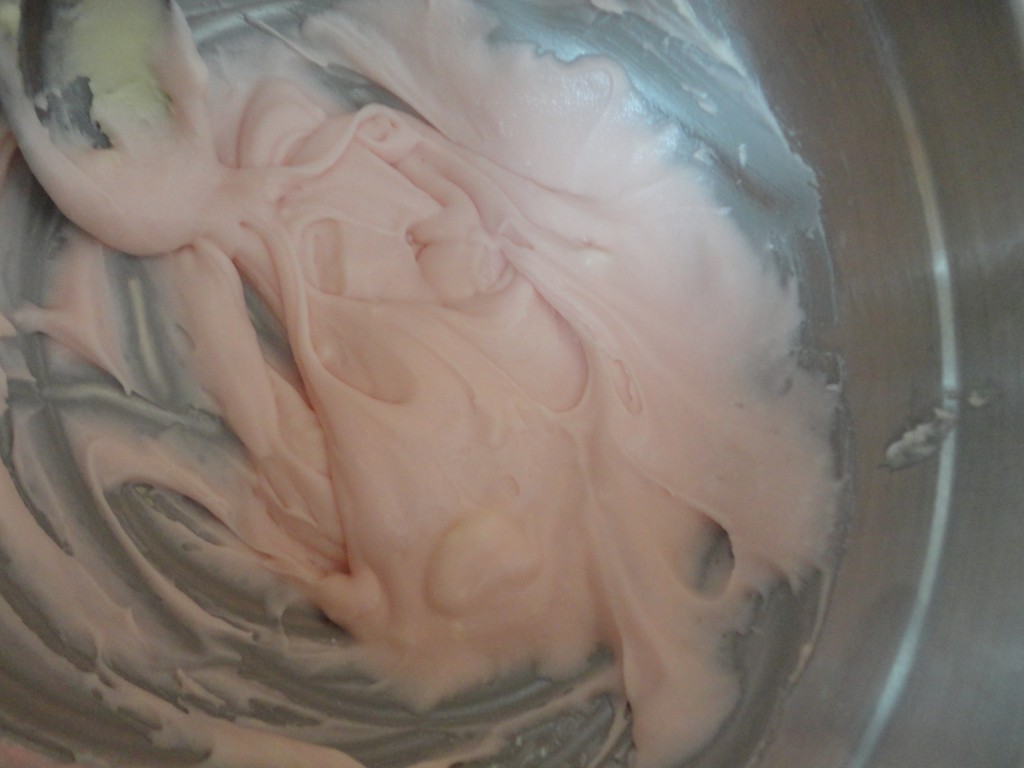
It might not look like much, but you’ll only be putting a little bit on each cookie. Add the food colouring; depending on the shade you want it to be, you might need to add more than 3 drops.
Spread a little bit onto each cookie, starting at the top of the rows and moving downward (so you don’t mess up the icing you’ve already put on).
Sprinkle each cookie with a little (or a lot) of sugar decorations for a bit of magic.
And that’s it, you’re done! Sugar cookies are a bit of work, especially with rolling out the dough and making sure its is easy to handle, but they are so worth it, especially when you top them with this icing and some coloured sugars.
The cookies melt in your mouth, while the icing is a soft and creamy perfection.
Try them out and let me know how you get on 🙂

‘Till next time,
Ikhlas

YUM! Those look so delicious! Sugar cookies are one of my favourites! Im definitely going to try out this recipe sometime this summer! Thanks for sharing!
Try them out and let me know how you like them! 🙂