
So some of you might know that I love making homemade crafts. Birthdays, weddings, and baby showers hardly pass by without a homemade card from me to my friends and family.
When I first started making cards, I used the plain white envelopes that I’d gotten from a card-making kit to put them in. But they looked quite plain, and compared to the pretty cards, they didn’t quite match up.
So before I discovered Pinterest, I scoured the internet for tutorials on how to make my own homemade envelopes, and finally found 2 ways that I liked best.
So if you like making homemade crafts as well, check out my step-by-step tutorial on how to make 2 types of homemade envelopes!
Heart Envelope
So I’ve decided to call this method the heart shaped method, because you make the envelope out of a large heart.
Here’s what’ll you’ll need:
- medium cardstock paper (12 inches by 12 inches), not too thick (too hard to fold), not too thin (won’t hold the card)
- a heart-shaped template*
- scissors
- a pencil
- double sided (invisible) tape

*In order to make your heart template, simply fold a cardstock (12 inch by 12 inch) paper in half and draw the outline of half a heart. Once complete, cut out the heart and unfold the paper. You now have your heart template.


1. Begin on the side of the cardstock paper you want inside the envelope. Trace your heart-shaped template over the paper and remove.
2. Cut out the heart you’ve traced.


3. Start folding the sides of your heart inwards, about 1 to 2 inches each, making sure they’re equal.
4. Fold the curved part of the ‘heart’ (the top) towards the bottom, about halfway, using where the sides stop as an imaginary line.


5. Bring the bottom of the ‘heart’ down (now it’s the top of the envelope/the flap), and fold along the crease.
6. Press down on all the edges, creating clean lines. Open the envelope back up, and using double sided tape, glue down the inside flaps together. You can leave the top flap open or can secure it after you’ve put your card in with more double sided tape or a sticker.
7. You’re done!

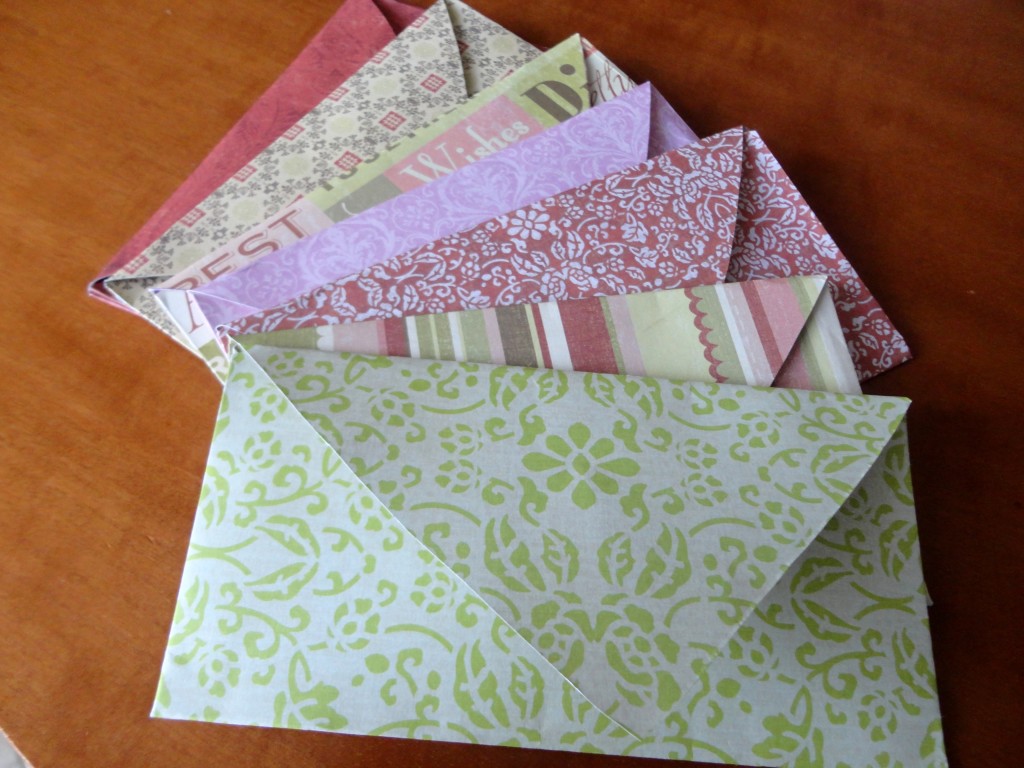
What I love about these envelopes is that they’re easy. Cards-wise, they’ll fit small, thin cards. Or you could use it to send cute letters you your friends. 🙂
Japanese Envelopes

This is what the internet calls these envelopes that have four points meeting in the middle, for reasons I don’t know. Lol.
Here’s what you’ll need:
- medium cardstock paper (8 1/2 inch by 11 inch paper, printer paper)
- a ruler
- scissors
- a pencil
- an eraser

I’ve used double sided paper in both of these tutorials, but you can obviously use single-sided paper as well. Just begin on the side you intend to be inside the envelope. You may notice that the pattern on the paper changes midway through the tutorial, but that’s because I started on the wrong side of the paper (the side I wanted outside), and forgot to take a picture after I fixed my mistake. Oops.


1. Start by lining your ruler from one corner of the paper to the opposite corner. Draw a short line in the middle.
2. Turn your ruler to the other side, and do the same thing. Your two short lines should meet in the middle. Draw a small dot at the point of intersection.


3. Now that you have an X in the middle of your paper, start by folding the right side of the paper along the length of the line you have drawn. It will be on an angle.
4. Turning your paper clockwise, do the same with the new right side of the paper. Make sure it touches the dot you’ve made in the center of the page, and also make sure it lines up straight with the edge of the side you’ve already folded (on the bottom).


5. Again, turn your paper clockwise, and fold the right side of the paper until it meets the edges in the middle. Also, make sure it lines up straight with the bottom edge.
6. Fold down the last bit, making sure it lines up with all the edges.


7. Open the last side back up. Holding down all the folded edges, pull open the short side that had previously been hidden when you folded down the last edge.
8. Tuck the long corner of the envelope inside this flap, smoothing down the edges, making sure it’s neat on the outside.


9. Erase the X you drew inside the envelope at the end. Taking the back of the scissors, press down on all the edges to ensure that everything is smooth and well-creased.
10. You’re done! Now you can decorate it however you like it. 🙂
The last part of this envelope is a bit tricky to describe, especially with pictures, so here’s a link to a video I watched when I was learning how to make them. It sounds more complicated than it actually is, but in truth, it’s easy to get the hang of it.
Anyways, I hope this tutorial helped you guys out in some way! Both methods are quite easy, but just take a bit of practice to get the hang of them. You can always add stickers, gems, lace, etc. to pretty them up as well.

If you have any questions, feel free to ask them in the comments. 🙂
Thanks for reading,
Ikhlas
Aww! that was so cute! this post hit home with the child me 🙂 I looove crafty things too, I think I’ll be trying those, really pretty stuff, Awww! I’m seeing little pink hearts floating in front of my eyes already.
Thanks, Haneen! Let me know how they turn out 🙂